
Design Concept Development 2:
 Design Concept Development 3:
From the designs, and further developments, I came to a final choice, which was accepted by the printers, and was accepted as a design proposal. Although I wanted a prototype which could represent a design concet for a constructed light bulb, due to the measurements we were limited to for a design sample, it would have resulted in a very small prototype. The design which was taken through as a final concept is shown below. It has a build up of 3 different layers, which form like a spiral, with intricate detail forming within each layer. I think this design will make a really interesting design concept for lights. Final Accepted Design Concept:

This is the final design concept which has been taken through to the final design stage. The interesting aspect of this deisgn are the 3 different levels, which can be clearly seen in the right/left view, the spiral effect makes the design look really interesting. Due to the printing dimension limit, its quite difficult to see how a design would actually look. We have been working to guidelines of 120mm x 25mm x 120mm. This process is quite costly due to the material also, and a price can only be given once a design has been constructed, which therefore makes it rather difficult for testing and experimenting processes to take place.

Base Design of Prototype:
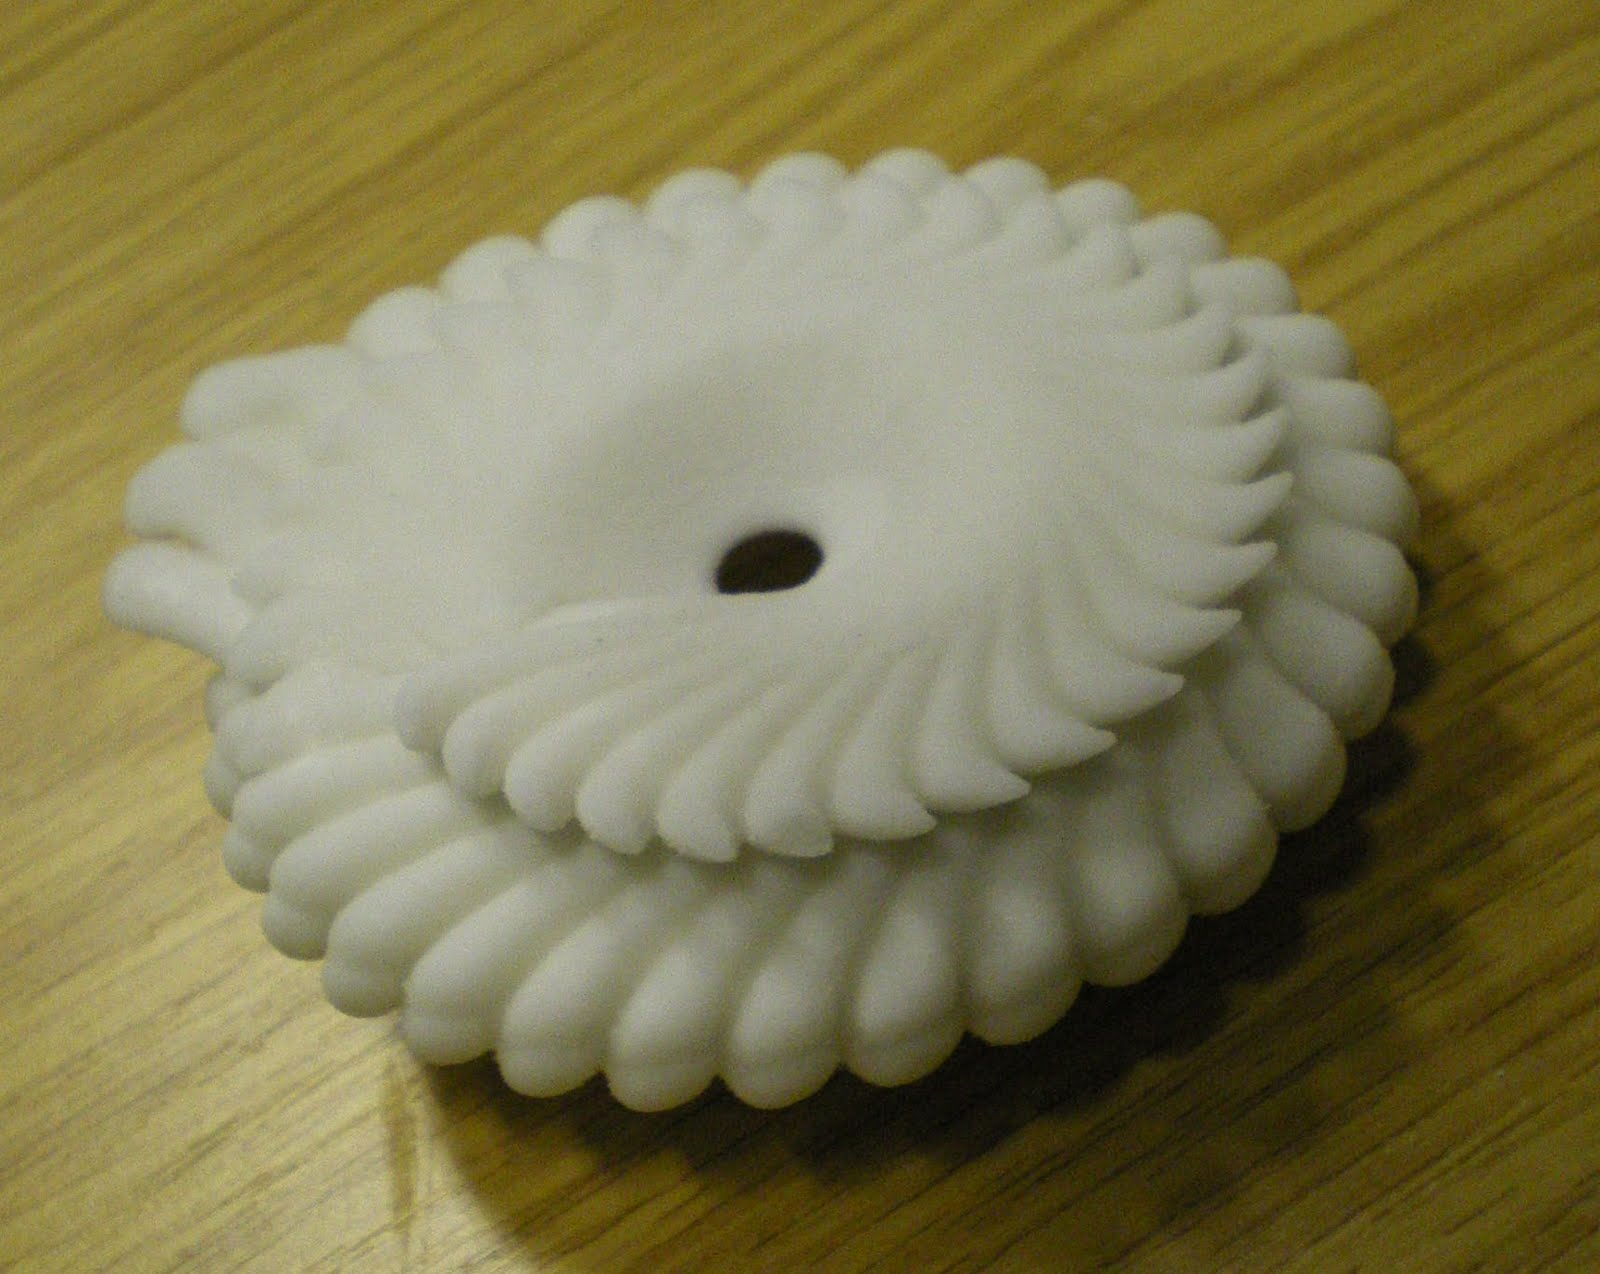
Seeing the design as a finished product was really interesting, and the scale is so much smaller than expected. This journey and project has definatly been a learning curve, and will be interesting to continue to progress working using this design element to see where it could take me for my Final Major Project.


