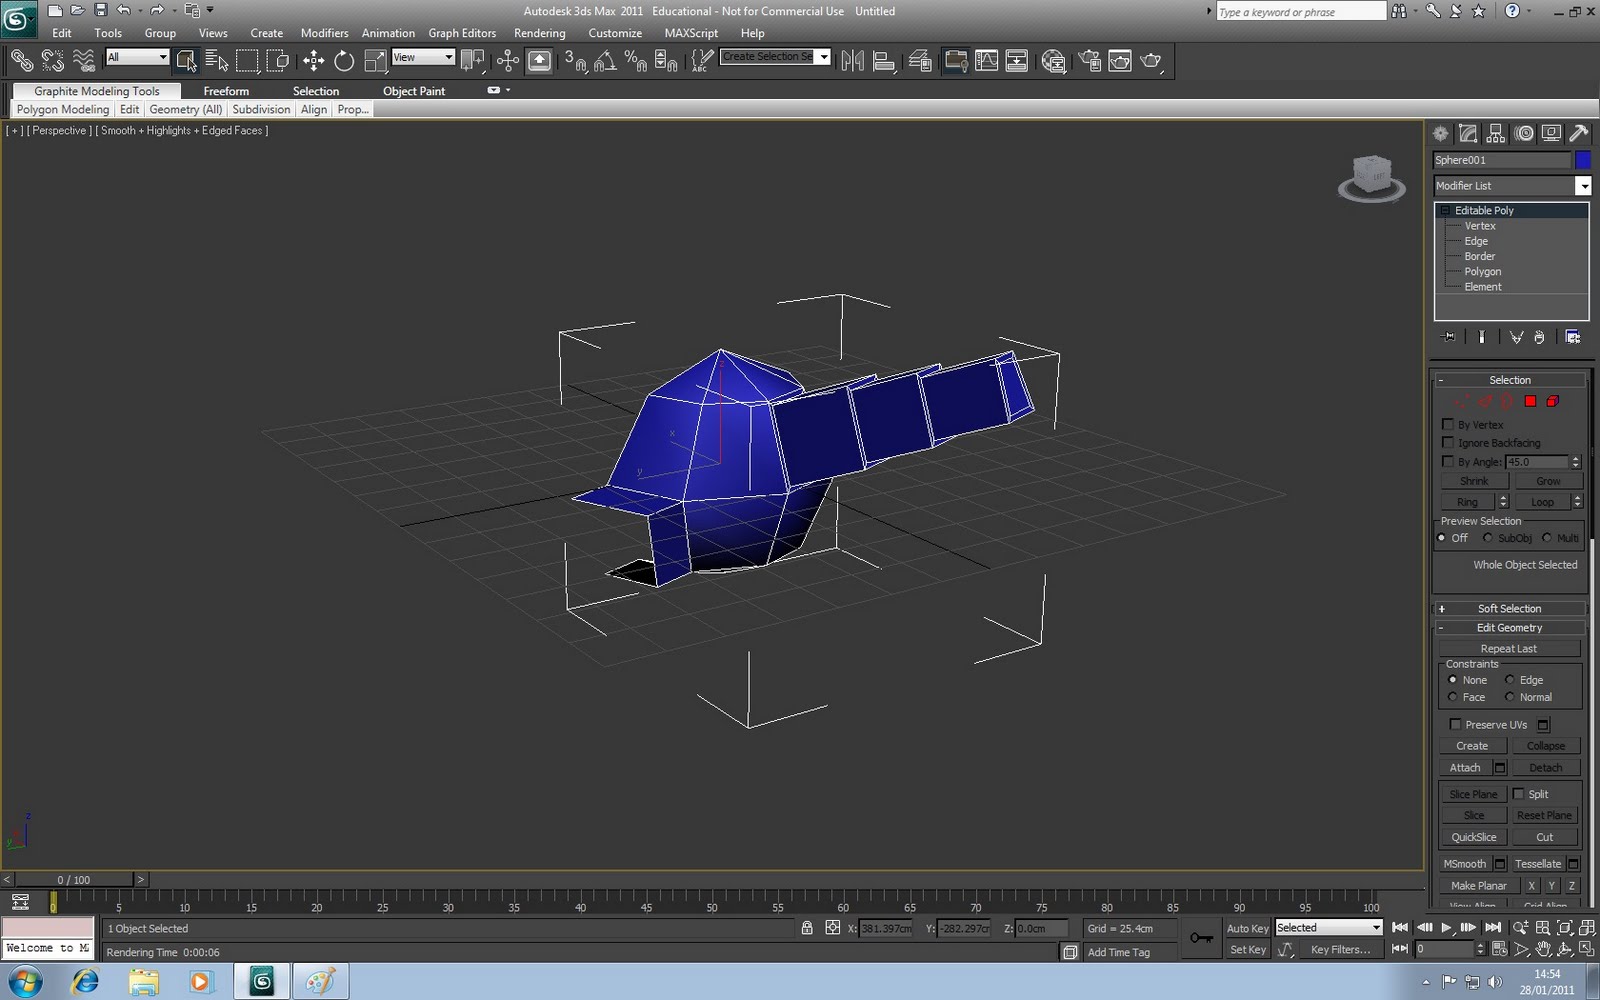
Final Concept ideas to be put into production for 3d Printing
 Futuristic City - Concept 1
 Building Structure- Concept 2
 Circular Nation- Concept 3
Above are screen shots of my final three concepts that I have designed for 3d printing.

 Above the idea of a 'Circular Nation' extruding shapes from the circular form to represent the shapes of buildings.
 Above is one of the images the informed the basis of what I was trying, mimicking the shapes created within the wooden structures. this was simply created using the extrude tool.
3D Studio Max is generally used within Advertising and films, each single design is captured in stages and then recorded which results in a movie shot of each stage. Although using the movie aspect within this project will not be necessary, it is still an interesting element which could be used within the degree show presentation.
To help[ with the learning and understanding of this software there have also been online tutorials which have been highly benificial which is available at: http://www.huddersfield3d.co.uk/
The following is my recordings and process of this project
3D STUDIO MAX – 21ST JANUARY 2011
First Session Feedback & Notes:Personal Development:
I have found this session really difficult to understand and think it will take a matter of self learning and understanding to ensure i fully understand and keep working over the features we have been taught today. Using the skills we have been taught today, I have noted the main learning features on the following pages, indicating key elements, which will enable me to learn, adapt and apply into a design mode for my final design.
Basic Understanding:
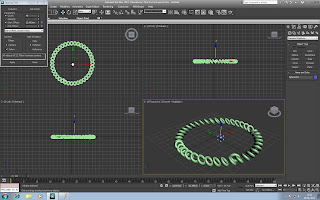 Using the spacing tool- starting off by using the the circle tool then drawing a torus, make sure the torus is selected before selecting spacing tool. Open the spacing tool which is underneath tools> align> spacing tool. Select pick path and click on the circle, the torus should then be grouped around the circle.